Full customization of address bar and image search engines in Microsoft Edge on Windows
In Microsoft Edge, it is possible to switch the search engine and add a custom one, but from the browser settings you can't take full control over the search and have to deal with the following downsides:
- The list of search engines becomes flooded with automatically discovered options from the sites you've visited
- Changing the address bar search engine also changes the image search ("Search the web for image" option in the image context menu). You can't combine, let's say, DuckDuckGo for the address bar and Google for images
- Setting a custom search engine, even if it is a variant of Google, shuts down the image search ("Search the web for image" option disappears from the image context menu)
- Bing can't be removed
Fortunately, there is a way to tailor the search to your needs. Edge has a variety of customizable group policies that can be set up on Windows or macOS. The policies override and extend browser settings. We are going to use one.
ManagedSearchEngines policy
The policy that gives us full control over browser search engines is called ManagedSearchEngines. It holds JSON configuration of the available engines and also allows disabling automatic search engines discovery.
Create the value
To create the policy, do the following:
- Open the Registry editor
- Go to the
HKEY_CURRENT_USER\SOFTWARE\Policies\Microsoft\key through the directory tree - Look for the
Edgekey inside. If it's not there, create it by right-clicking theMicrosoftkey and clicking New->Key in the context menu - Create a new value called
ManagedSearchEnginesby right-clicking the In theEdgekey and clicking New->String value in the context menu
Leave the Registry editor opened, we'll get back to it.
Create the configuration
Now you have to create a configuration to write to the policy value. Here is a pretty self-describing example from Microsoft you can take as the base. Copy it to the text editor and make all the changes you want:
[
  {
    "allow_search_engine_discovery": true
  },
  {
    "is_default": true,
    "keyword": "example1.com",
    "name": "Example1",
    "search_url": "https://www.example1.com/search?q={searchTerms}",
    "suggest_url": "https://www.example1.com/qbox?query={searchTerms}"
  },
  {
    "image_search_post_params": "content={imageThumbnail},url={imageURL},sbisrc={SearchSource}",
    "image_search_url": "https://www.example2.com/images/detail/search?iss=sbiupload",
    "keyword": "example2.com",
    "name": "Example2",
    "search_url": "https://www.example2.com/search?q={searchTerms}",
    "suggest_url": "https://www.example2.com/qbox?query={searchTerms}"
  },
  {
    "encoding": "UTF-8",
    "image_search_url": "https://www.example3.com/images/detail/search?iss=sbiupload",
    "keyword": "example3.com",
    "name": "Example3",
    "search_url": "https://www.example3.com/search?q={searchTerms}",
    "suggest_url": "https://www.example3.com/qbox?query={searchTerms}"
  },
  {
    "keyword": "example4.com",
    "name": "Example4",
    "search_url": "https://www.example4.com/search?q={searchTerms}"
  }
]
Note, that unlike the browser settings, in the JSON configuration you have to use {searchTerms} instead of %s search query placeholder.
I decided to make Google my address bar and image search engine, but I've removed suggestions and all the questionable query parameters such as Assisted Query Stats. I've also disabled automatic search engine discovery.
[
  {
    "allow_search_engine_discovery": false
  },
  {
    "is_default": true,
    "keyword": "google.com",
    "name": "My Google search",
    "search_url": "https://www.google.com/search?q={searchTerms}",
    "image_search_url": "{google:baseSearchByImageURL}upload",
    "image_search_post_params": "sbisrc={google:imageSearchSource},encoded_image={google:imageThumbnail},original_width={google:imageOriginalWidth},original_height={google:imageOriginalHeight}"
  }
]
Save and test the configuration
- Once you're done creating your configuration, copy it to a new text editor window and remove all the line breaks, so it becomes a single looong line
- Copy the line and get back to the Registry editor. Double-click the
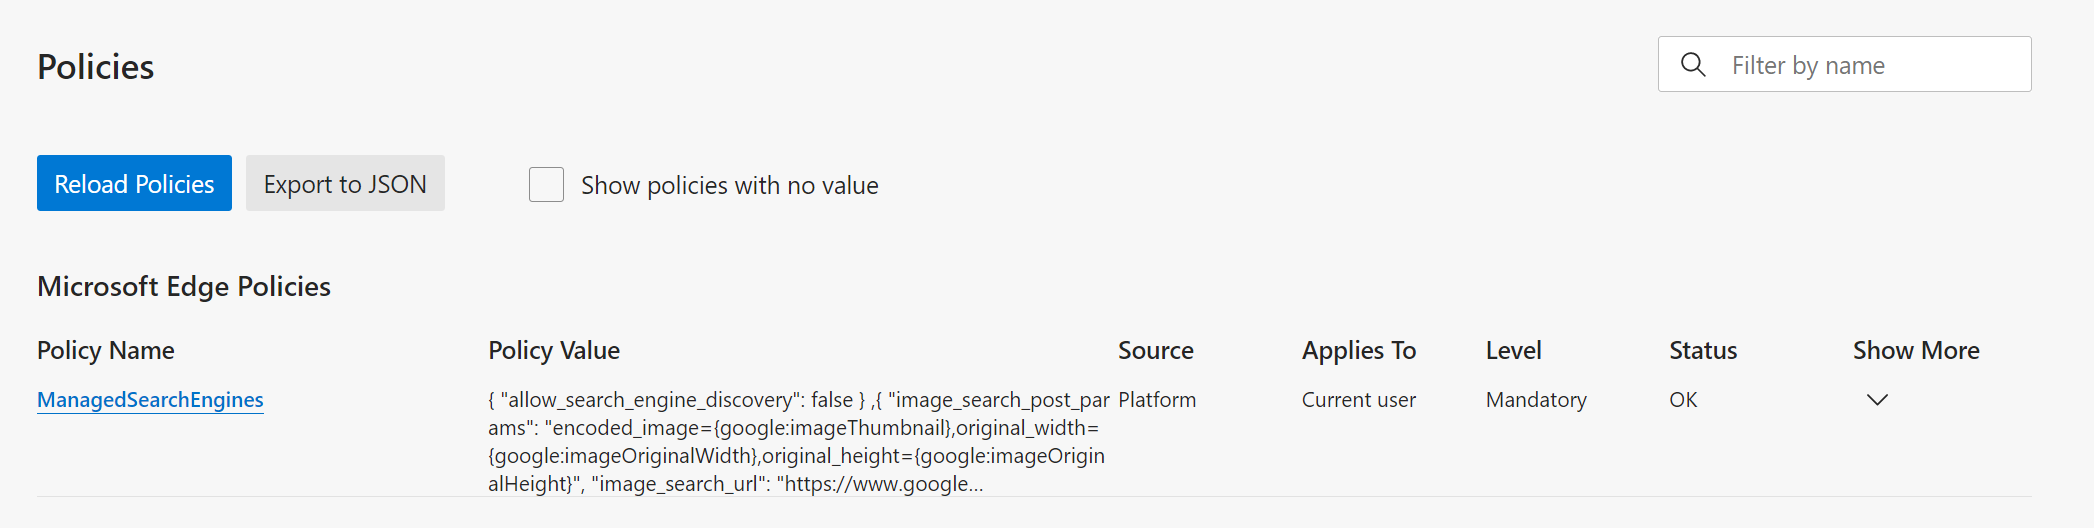
ManagedSearchEnginekey you've created, paste the line to the Value field and press OK - Go to Edge and navigate to edge://policy. Press the "Reload policies" button
- Make sure there is a newly added policy and its status is OK
5. Restart the browser and test the search
If the policy is not shown on the policies page, carefully check the registry path and key name. If the status of the policy is not OK, click the arrow in the "Show More" column and read the error message. Correct the error and click "Reload Policies" again.
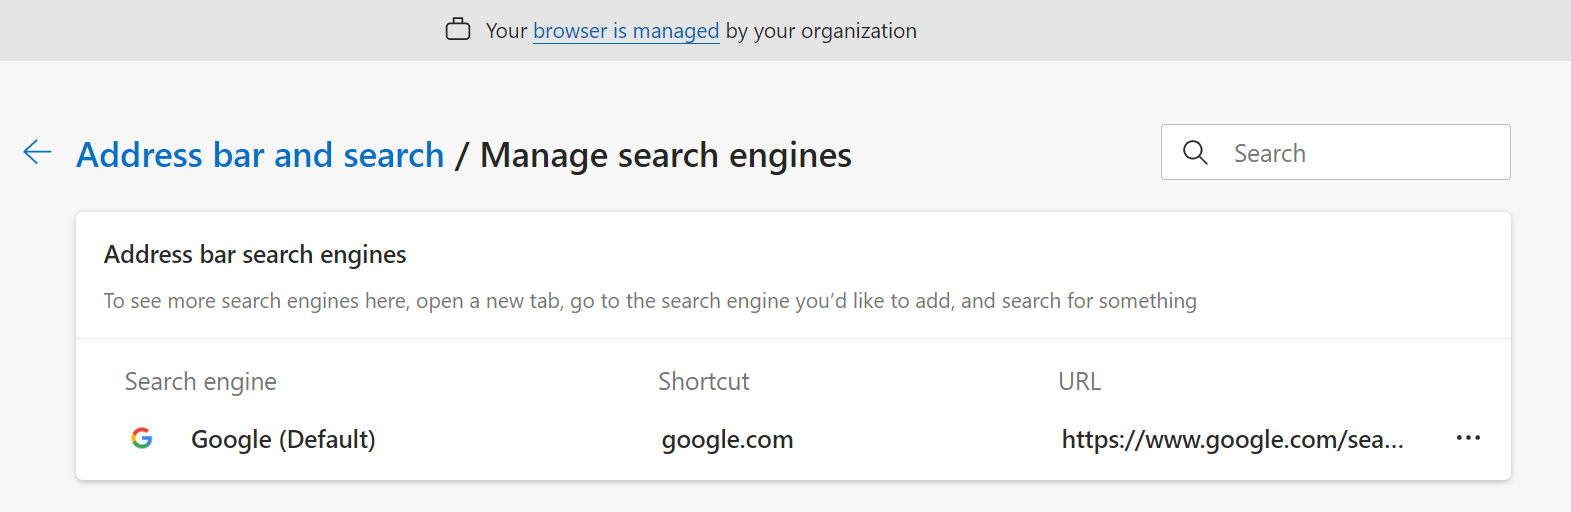
Note, that when the policy is set, you'll see "Your browser is managed by your organization" header in the settings and won't be able to manage search engines from there.